How to Perform a Hip Hinge for Beginners
How to Perform a Hip Hinge for Beginners
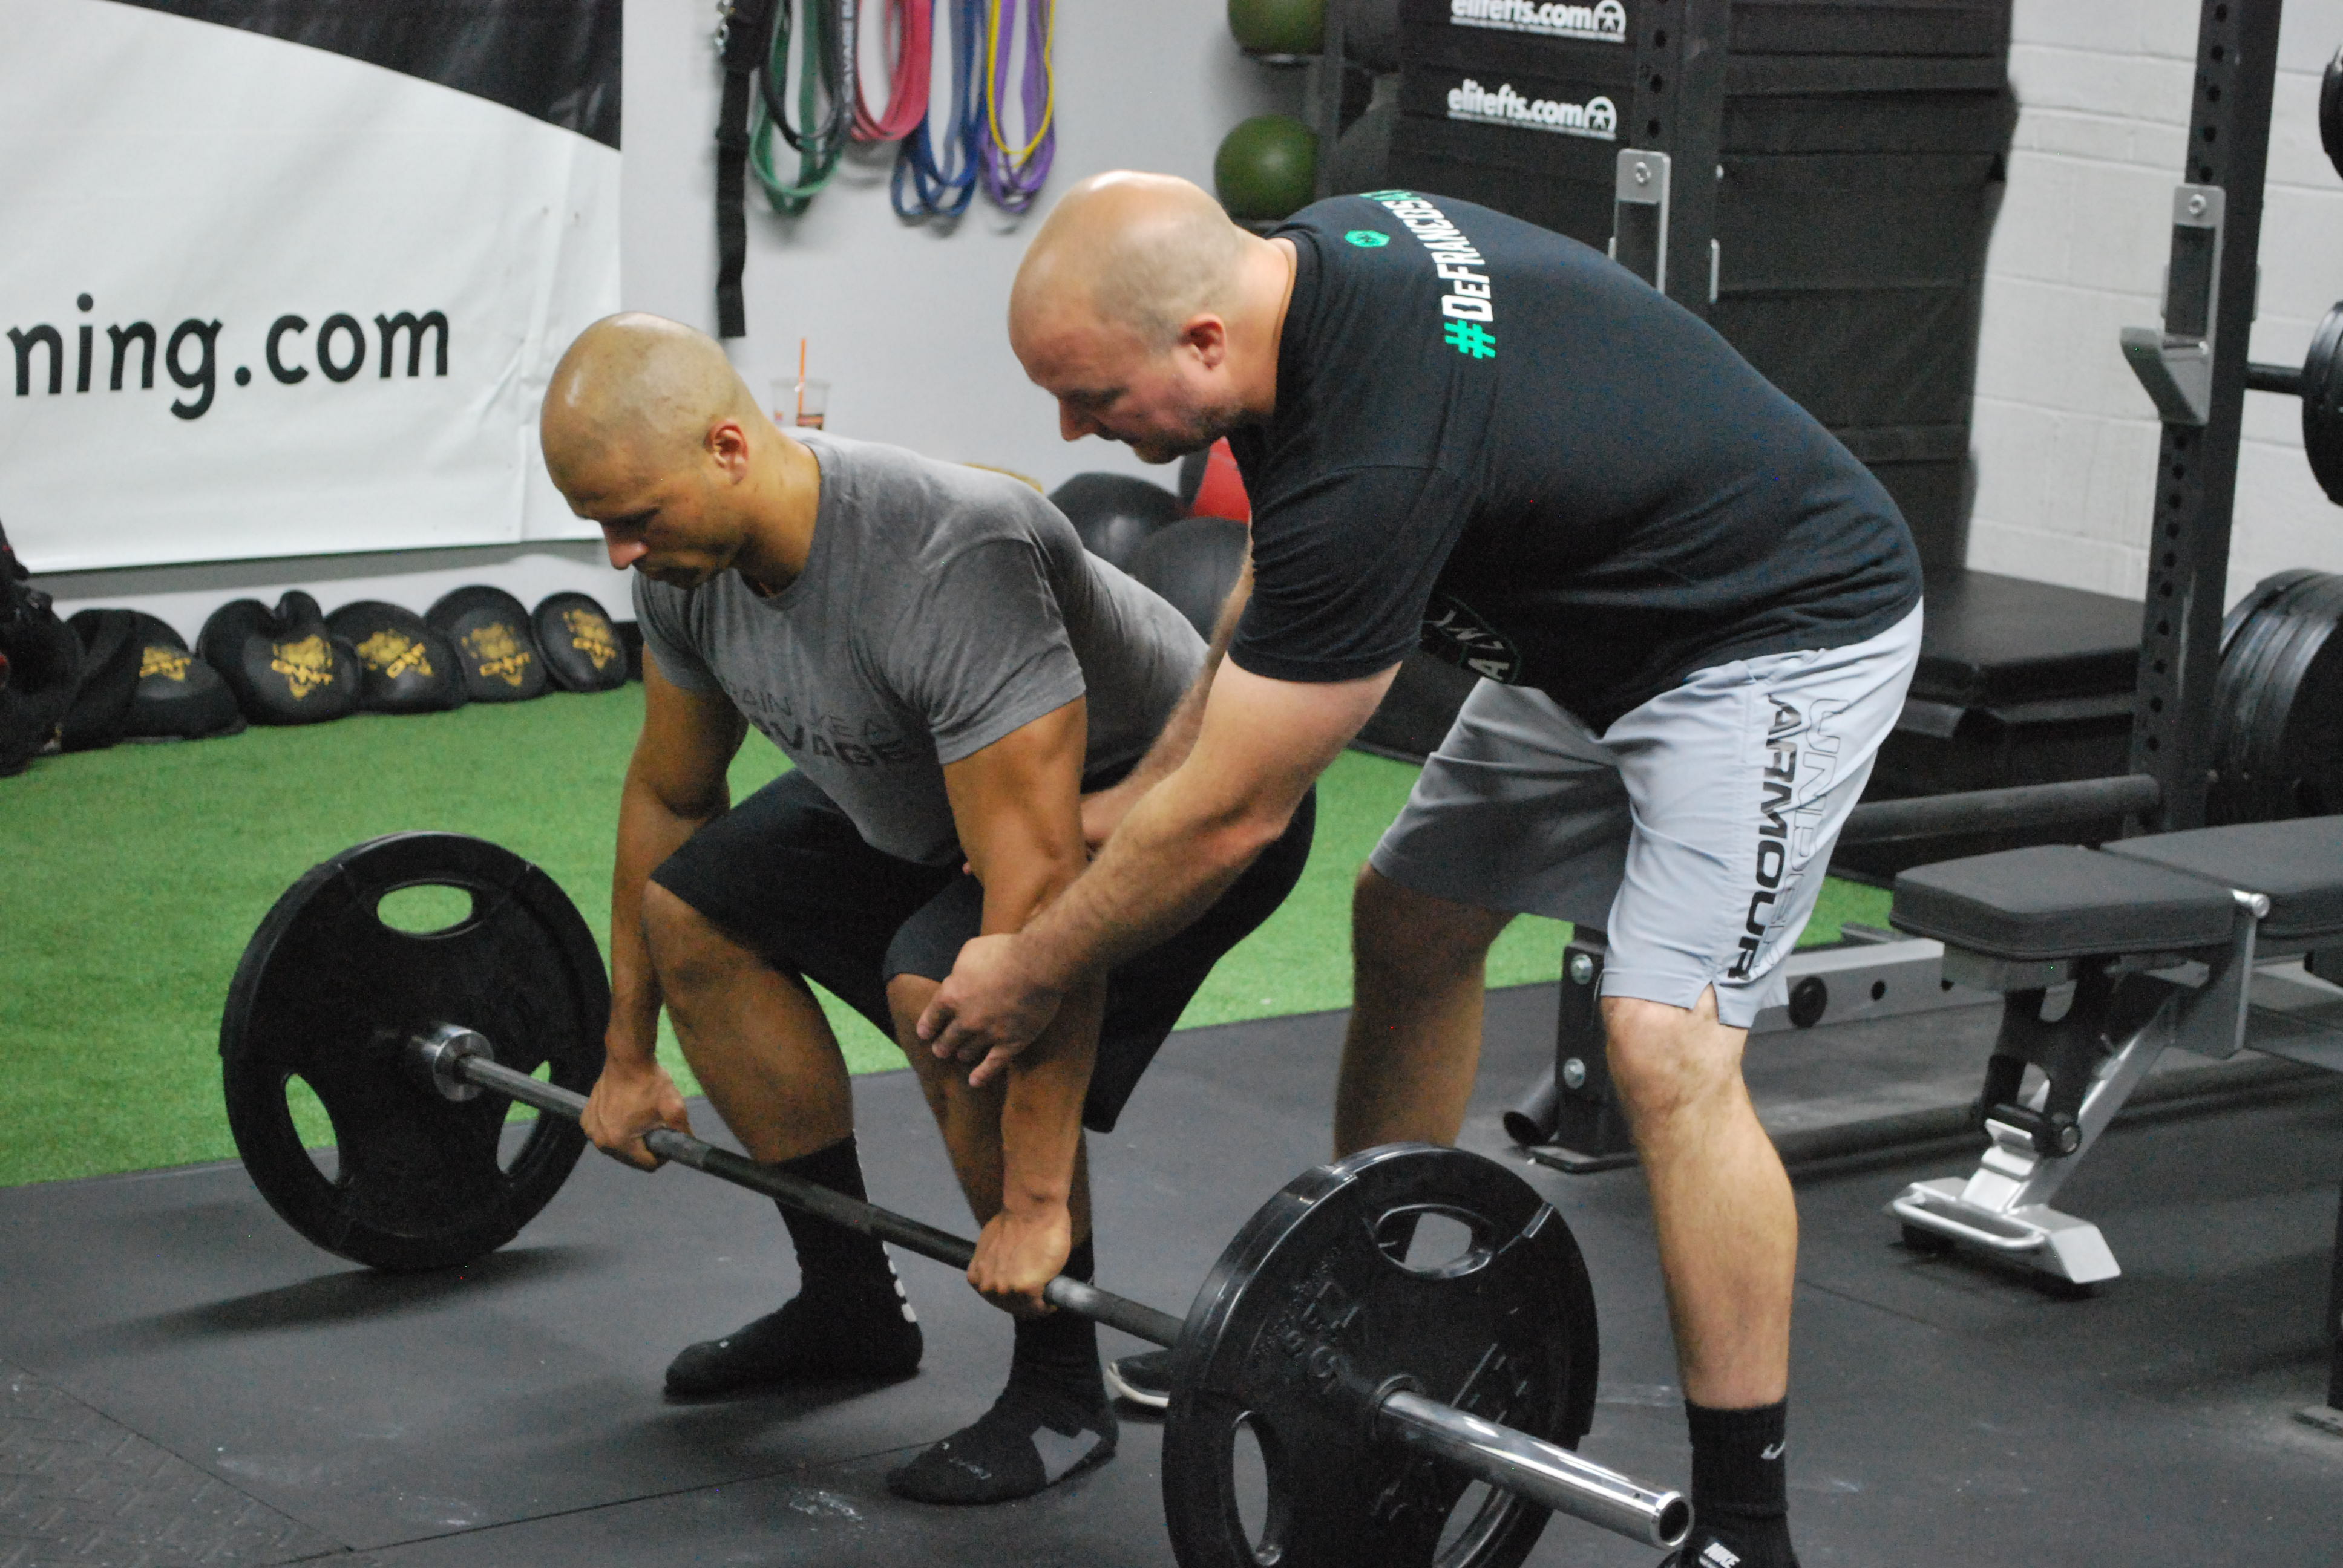
When learning how to deadlift, a lifter must learn how to hip hinge properly. This is fundamental and critical for their long term success in the gym. And, as progression toward greater loads happens, the lifter will understand what good position is and always try to maintain it.
Here is a 3-exercise pre-deadlift warm-up I’ve been using with great success. The importance of a good pre-training prep can’t be overstated. It is during this window, we attempt to get the right muscles fired up, groove the appropriate patterns, and ensure the right positions can be achieved with the optimal amount of stability and control.
Why is Warming Up Important?
This particular sequence covers a lot of bases, including:
1. Gets your hips and glutes heated up and on fire,
2. Activates the lats during the hinge pattern to simulate the ‘active’ shoulder extension required for the deadlift.
3. Opens up the hips, ankles, and knees while also stretching the adductors,
4. Grooves the deadlift (hinge) pattern to sequence getting the right muscles fired up for the upcoming training session.
Here is how the sequence goes:
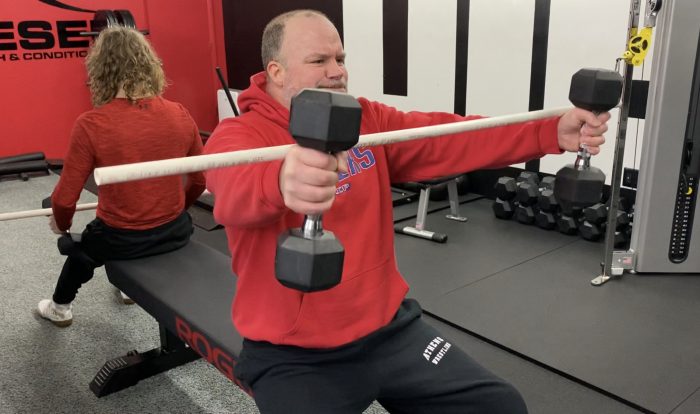
1. Active Foam Roller Hinging – gets the lats fired up during the hinging pattern. Forces athlete to ‘sit back’ into the hinge.
2. Band-Resisted DB RDL’s – patterns the hinge, activates the glutes and hamstrings, and focuses on a powerful and complete lockout.
3. Band-Assisted Cossacks – Adductor length and extensibility, along with ankle, knee, and hip mobility are critical for optimal positioning for the deadlift. This drills allows even the tightest athlete, to find new ‘space’ at each joint.
For more joint-friendly, pain-free training, check out Ageless Athlete 2.0 – HERE
By Smitty on January 17th, 2020
FREE DIESEL NEWSLETTER
- Discover Pain Free, Joint-Friendly Training
- Get Super Effective Workouts and Programs
- Inspirational Life Lessons Each Week
- Effective Habits For Busy Entrepreneurs


